SOCKS5 PROXIES
 ISP Proxies
 Static Residential Proxies
Proxies Plan
 Residential Proxies
 Unlimited Residential Proxies
 Rotating ISP Proxies
Get Started
 Quick-start-guide
 FAQ
FAQ
 Public API
SOCKS5 PROXIES
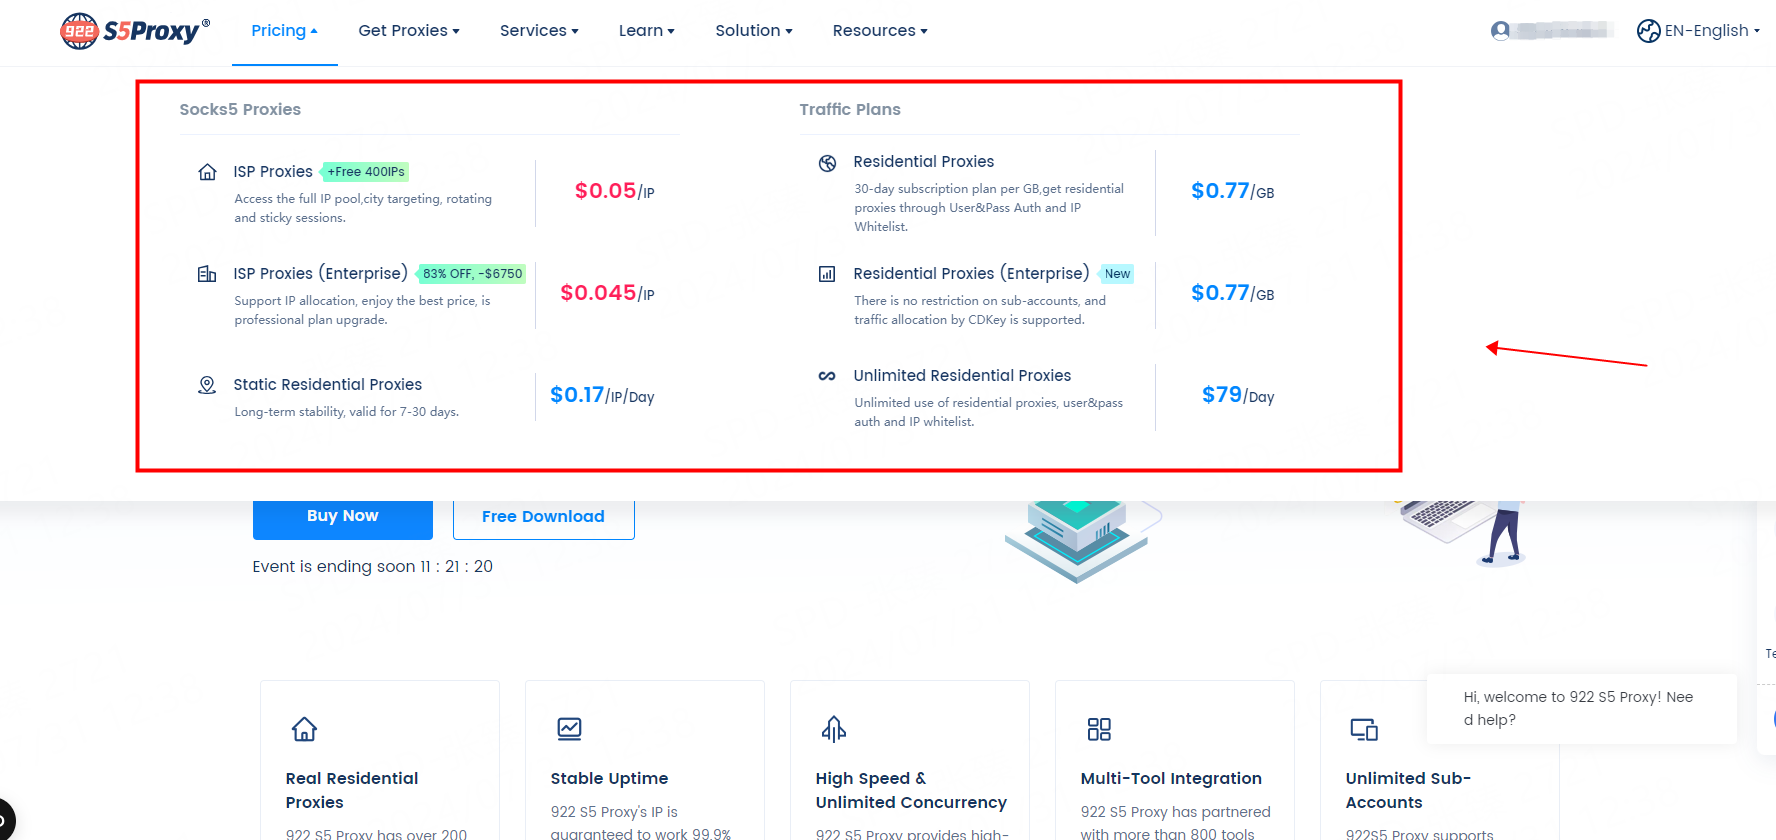
 ISP Proxies
Supports city-level positioning in 190+ countries/regions. No charge if unavailable
$0.05/IP +Free 600 IPs
 ISP Proxies (Business)
Over 200 million real residential IP addresses, enjoy the lowest discount price on the platform.
$0.03/IP 90% OFF,-$6750
 Static Residential Proxies
Stable and reliable residential proxies valid for 7~30 days
$0.17/IP/Day
Proxies Plan
 Residential Proxies
Billing based on traffic, supports random and sticky rotation modes.
$0.77/GB + Free 100 GB
 Residential Proxies (Business)
No deduction if not used, valid forever.
$0.77/GB
 Unlimited Residential Proxies
Unlimited IP and unlimited traffic using residential proxy.
$79/Day
 Rotating ISP Proxies
Pay by GB, time limit is up to 24H
$0.77/GB
Extraction Method
 User&Pass Auth
 API Whitelist
SOCKS5 Tools
 Windows


 Windows
Beta


 Mac OS


 Linux
Linux


 Android


TOOLS
 Google Chrome Extension


 Mozilla Firefox Add-on


Reseller Program
 Proxy Manager


CDKEY EXCHANGE
 ISP CDKey Exchange
 Residential Proxies CDKey Exchange
 Balance CDKey Exchange
PARTNER PROGRAM
 Affiliate Program
 Reseller Program


 ISP Proxies


 Data Collection
 Price Monitoring
 Market Research
 Snap Up Merchandise
 Brand Protection
 SEO Optimization
 Social Media
 Ad Verification
 Tik Tok
 Google
 Reddit
 YouTube
 Instagram
 Etsy
Etsy
 Amazon


 EN-English
 ZH-中文繁体
 VI-Tiếng Việt
 RU-Русский
 FR-Français
 ES-Español
 ID-Indonesia
 JP-日本語
 BR-Português
 NL-Nederlands
 DE-Deutsch
 TH-ไทย

 Type
Type


 Latest update:
 Number of views :
