Want to know how to change the proxy server on Google Chrome? This article will give you the answer. Here we introduce in detail how to change the proxy server on Google Chrome. Let’s learn together.
What is a Chrome proxy?
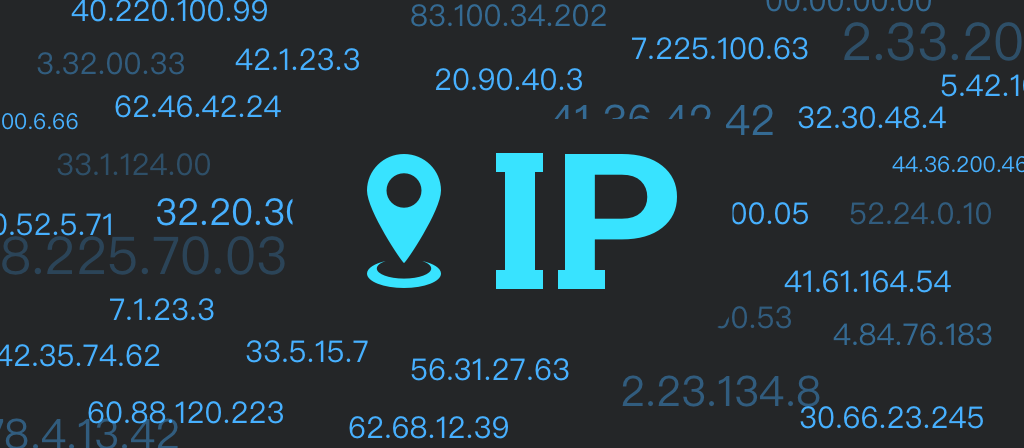
Chrome proxies are intermediaries between the user’s device and the Internet. They can hide the actual IP and provide a different IP to the target website. And allow bypassing geographical or content restrictions with high anonymity and privacy.
Why use a proxy on Chrome?
1. Enhanced privacy and anonymity. When using the right proxy, you can enjoy the specific anonymity you need.
2. Access restricted content and evade censorship. It can assign you an IP in different regions, access content in restricted regions, and will not be tracked.
3. Improved security. When dealing with sensitive data, the right proxy (HTTPS or SOCKS5) can be the difference between security and vulnerability.
4. Cost savings. Reliable proxies can save users data costs. They can do this by caching and reducing the data required to load frequently visited pages.
Detailed instructions for setting up a proxy server in Google Chrome
Basic steps:
1. Enable the proxy.
2. Specify the port and IP address to connect to.
3. Set all checkboxes.
4. Save the proxy.
Problems when setting up a proxy and how to solve them:
Before enabling a proxy in Chrome, it is important to know that difficulties may arise during the setup phase. When different types of problems arise, it is worth using these recommendations:
1. Restart the PC;
2. Scan the device with an antivirus program;
3. Check all settings of the application and the browser itself;
4. Perform a comprehensive audit of the operating system.
Benefits of Using a Proxy Server in Google Chrome
A proxy server reroutes your traffic and hides your IP address, but it does much more than that. Here are other benefits of using a proxy server for Chrome:
1. Enhanced Online Privacy
A proxy server not only makes you anonymous, but it also prevents websites from tracking your online activities.
Hiding your real IP also eliminates the association with any other identifying information.
2. Improved Security
A proxy server is like a wall between your device and potentially harmful websites or content. They block ads, filter dangerous web traffic, and block malware-infected websites.
3. Bypass Geo-Restrictions
Some websites and online services restrict access to specific regions or countries. Using a proxy server, you can access content that may be blocked in your location.
4. Bandwidth Optimization
With a good proxy server, you can get better network performance. Proxy servers can cache frequently accessed web content.
5. Content Filtering
A proxy server can be configured to filter web content and block access to specific websites and categories. This is especially useful for organizations, schools, and other businesses that need to restrict access to social media, gambling sites, and adult content.
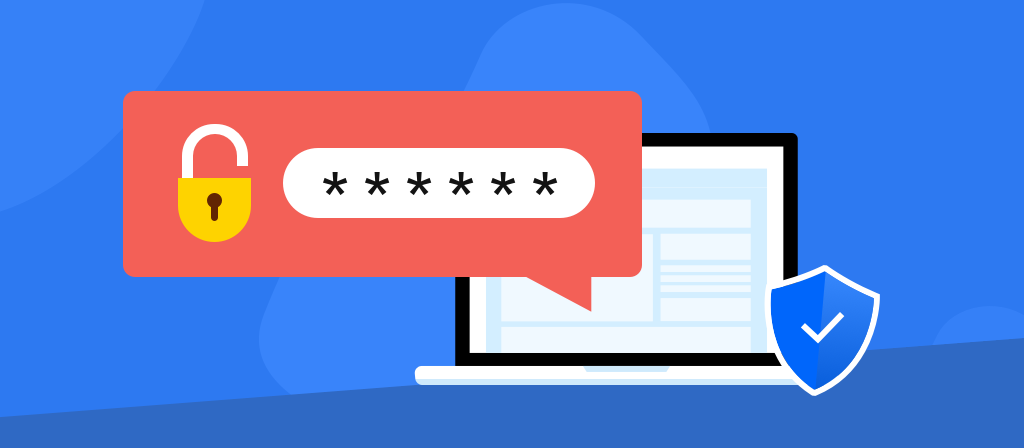
Disadvantages of using proxy settings in Chrome
1. Lack of encryption
Sometimes, data passing between you and the proxy server can be seen by snoopers or proxy services to see if they are using the lines.
2. Privacy/anonymity is not guaranteed
Free proxies sometimes log any website you visit and also save your IP address. If the wrong person gets a hold of all the data they store, they could expose your identity.
3. Slower connection speeds
When bouncing traffic through a proxy setting, your browsing speed may be affected. Especially when the proxy server is far away from you or is on a slower pipe, they can slow down your Internet speed.
4. Website compatibility issues
Some websites may not be accessible through a proxy. Take streaming platforms, for example. They may have countermeasures to discover hidden IPs and they will block you.
How to change a proxy server on google chrome?
Here are the first steps to change proxy settings in Chrome, and they apply to all operating systems. You can also choose to follow these steps based on your operating system:
Step 1: Open your Chrome browser and click the menu button. Then select Settings.
Open your Chrome browser and click the menu button. Then select Settings.
Step 2: In the Search Settings field, type “proxy”.
In the Search Settings field, type “proxy”.
Step 3: Click the Open my computer’s proxy settings button. This will take you to a pop-up box for your system’s proxy settings.
Click the Open my computer’s proxy settings button. This will take you to a pop-up box for your system’s proxy settings.
The next steps for proxy server settings will depend on your operating system.
Windows:
Method 1: Automatic Setup
Using an automatic proxy server installed on your Windows computer by your work or school? Then switch the Automatically detect settings option to On.
Switch the Automatically detect settings option to On.
Method 2: Manual Setup
Need to manually set up your proxy? Select Set Up in Manual Proxy Setup. Toggle “Use a proxy server” and enter the proxy IP and port when asked.
Toggle “Use a proxy server” and enter the proxy IP and port when asked.
Click “Save” and you’re done.
Mac:
Step 1: Under “Select a protocol to configure”, select the protocol for your proxy and check the box next to it.
Under “Select a protocol to configure”, select the protocol for your proxy and check the box next to it.
Step 2: Enter the server IP or hostname in the Server box, the port in the Port box, and your credentials if required.
Enter the server IP or hostname in the Server box, the port in the Port box, and your credentials if required.
Step 3: Press “OK” and you’re done.
Press “OK” and you’re done.
Linux:
Step 1: Under “Network Proxy”, select “Automatic” if you already have a proxy installed on your system, or “Manual” if you need to install it yourself.
Step 2: Find the protocol for your proxy in the list provided.
Step 3: Enter the server IP or hostname and port.
Step 4: Exit the box and you are done.
How to check proxy settings on google chrome?
Before setting up your current proxy, you may want to check whether you have any pre-existing proxies.
Step 1: Open Chrome.
Step 2: In the top right corner, click the Menu button, which looks like three dots.
Step 3: Go to Settings. Enter “proxy” in the Search field.
Step 4: Click on Open your computer’s proxy settings.
How to Turn Off a Proxy Server on Google Chrome?
Proxies can come in the form of traditional software or an extension. If the proxy is a Chrome extension, you can toggle it off by clicking on the icon in the top right-hand corner of the browser. However, in the case of a traditional proxy that requires configuration of system settings, the following steps can help:
1.Open Chrome settings. Click on the three-dot icon at the top corner of the browser and open the settings.
2.Access the system settings. On the left sidebar of the Chrome settings, select ‘System’. If a proxy extension is active, it will be indicated in the system settings. Disable the extension. Then, you can open the computer’s proxy settings.
3.Disable proxy settings. There are options for manual and automatic proxy setup in the proxy settings. For automatic proxy setup, you don’t have to toggle off “automatically detect settings” if a proxy script is not active. For the manual proxy setup, toggle off “use a proxy server” and clear the fields for proxy server details (address and port).
4.Save the changes.
alternatively, you can directly navigate to the proxy settings without redirecting from Chrome. To do this, open settings, select ‘Network and Internet’, choose ‘proxy’ on the sidebar, and make the same changes as above to switch off the proxy server.
Disable Proxy Settings for Google Chrome Browser
1.Open Chrome, then click the menu icon in the top-right corner
2.Click on Settings
3.At the bottom of the screen, click Show advanced settings…
4.Under Network, click Change proxy settings
5.Clicking Change proxy settings will open Internet Options. Click the Connections tab
6.In Connections, click LAN settings
7.In the Proxy server settings, uncheck the box that says Use a proxy server for your LAN, then click OK
Conclusion
The method to change the proxy server on Google Chrome is very simple. You can easily do it by following the instructions in this article. The main thing is to pay attention to information security when using the proxy server, and give priority to proxy providers with good reputation and many IP addresses.


